
Choosing between DIY and professional installation
Installing patio torches usually comes down to a choice between a weekend DIY project or hiring a contractor. While basic tiki torches are simple to stake into the ground, permanent gas or electric fixtures require more technical work.
The core question is simple: which path is right for you? There’s no single answer. We’ll break down the costs, the effort involved, and the potential snags of both DIY installation and professional help. It honestly comes down to your comfort level with home improvement projects, your budget, and how much time you’re willing to invest.
If you're handy and enjoy a good project, DIY might be incredibly satisfying. But if you’re not confident in your skills, or if the installation is complex (think running gas lines), a professional can offer peace of mind and ensure everything is done safely and to code. Let's explore both options in detail.
How to set up torches yourself
So, you've decided to go the DIY route? Excellent! Let's get into the specifics. The process will vary depending on the type of torch you've chosen. We’ll cover the basics for tiki torches, freestanding torches, and wall-mounted options. Before we even start, safety first.
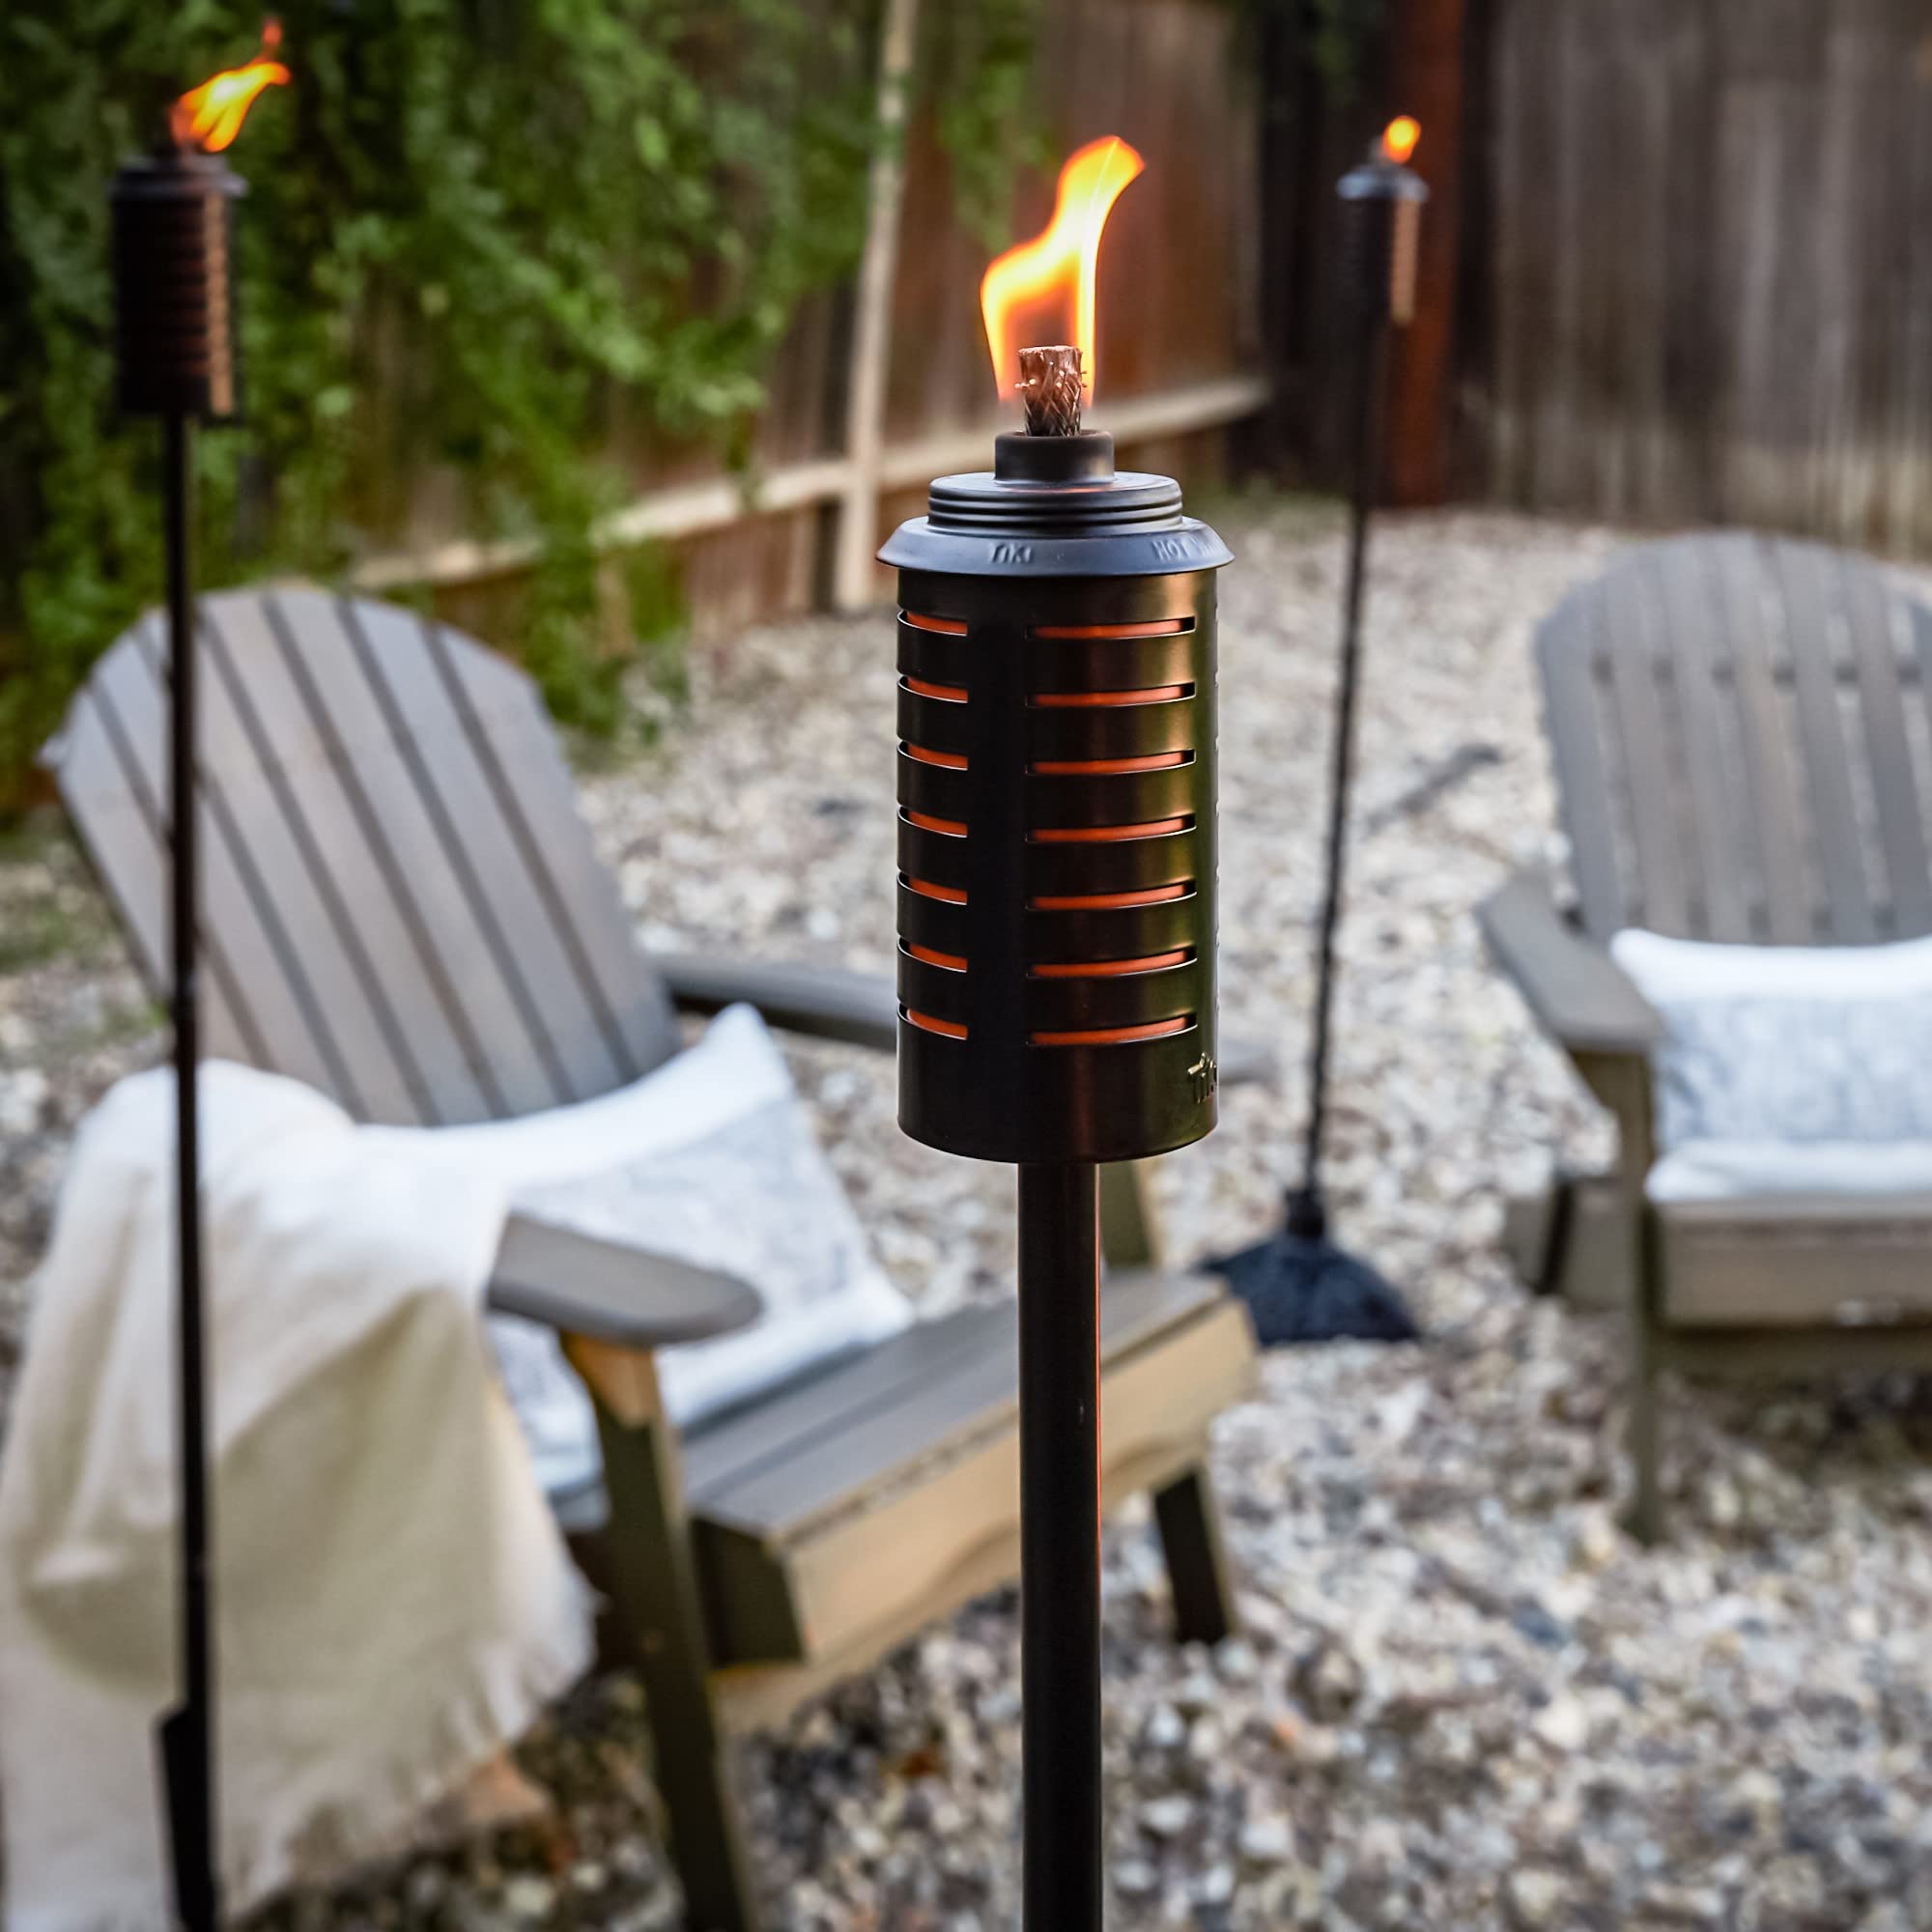
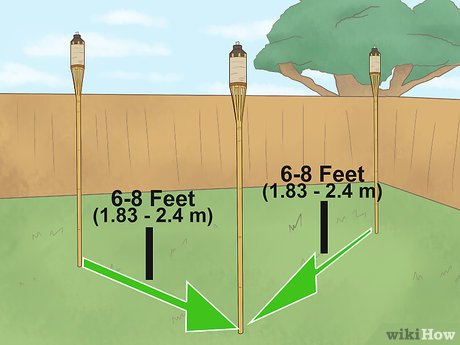
Site Selection is Key: Choose a location that's well away from flammable materials like trees, bushes, and overhanging structures. A minimum of 10 feet clearance is a good rule of thumb. Also, consider wind direction – you don’t want smoke blowing directly into your entertaining area. Ensure the area is level to prevent tipping.
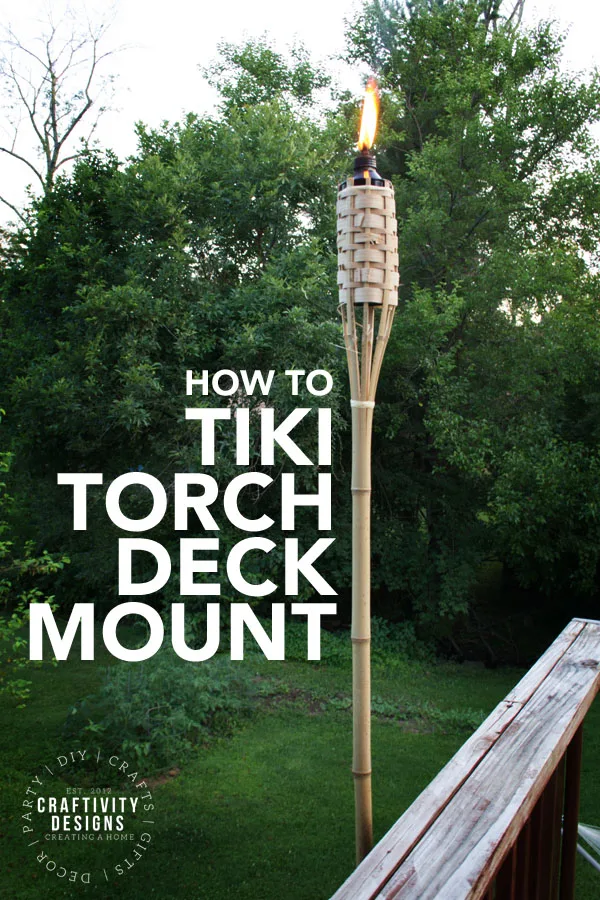
Freestanding Torches: These are generally the easiest to install. Many simply require you to fill the basin with fuel and light them. However, for stability, especially in windy conditions, you might want to consider a more permanent mounting solution. I’ve seen some folks use a 2” PVC pipe inserted into the ground for added support – a method showcased in some online tutorials, but be aware this might not be suitable for all torch designs or soil types.
Wall-Mounted Torches: These require a bit more effort. You’ll need to securely mount a bracket to your wall, ensuring it can support the weight of the torch. Use appropriate screws and anchors for your wall material (wood, brick, stucco). Double-check that the bracket is level before attaching the torch. You'll likely need a drill, a level, a screwdriver, and potentially a stud finder.
Fuel Considerations: Always use the recommended fuel for your torch. Kerosene is common for tiki torches, while citronella oil is often used for insect repellent. Never use gasoline or other flammable liquids – it’s incredibly dangerous. Store fuel in a safe, well-ventilated area away from heat sources.
Initial Testing: Once everything is set up, carefully light the torch and observe it. Make sure the flame is stable and doesn’t flicker excessively. Check for any fuel leaks. If you notice anything unusual, extinguish the flame immediately and address the issue before continuing. Proper grounding is also essential for electric torches to prevent shocks.
- Clear a 10-foot radius around the torch site to keep flames away from dry brush or eaves.
- Prepare the mounting surface (dig a hole, mount a bracket).
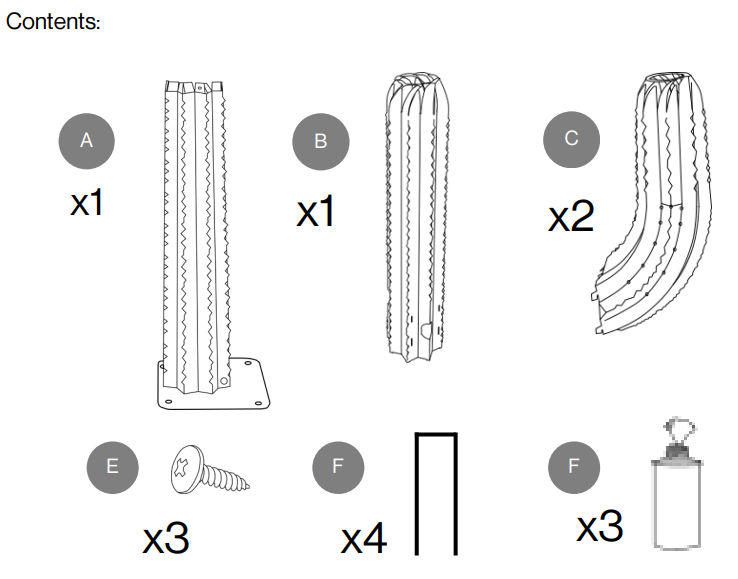
- Assemble the torch according to the manufacturer's instructions.
- Fill with the appropriate fuel.
- Test the torch carefully, checking for leaks and stability.
What you'll spend on a DIY setup
DIY costs depend mostly on the materials. A bamboo tiki torch costs about $20, while heavy-duty copper or stainless steel versions run closer to $100 each.
Here’s a realistic breakdown of potential expenses: Torches themselves ($20 - $200+ per torch), Fuel ($10 - $30 per gallon), Mounting hardware (brackets, screws, anchors – $10 - $50), Tools (drill, post hole digger – potentially $50 - $150 to purchase if you don’t own them, or rental fees). Don’t forget to factor in potential unexpected expenses – maybe you need to rent a post hole digger if your soil is particularly hard, or you discover you need additional mounting hardware.
Time Commitment: This isn’t just about money. A simple freestanding torch might take 15 minutes to set up, but installing several wall-mounted torches could easily consume an entire weekend. Be realistic about how much time you have available and your willingness to dedicate to the project. If you're starting from scratch with landscaping and digging, it will take longer than simply replacing existing torches.
- Low-End DIY: $50 - $100 (basic torches, minimal hardware)
- Mid-Range DIY: $150 - $300 (decent quality torches, some hardware, potential tool rental)
- High-End DIY: $300+ (premium torches, extensive hardware, potential landscaping work)
DIY Torch Installation: Effort & Potential Costs by Type, Skill & Yard
| Torch Type | Skill Level | Yard Conditions | Material Costs | Tool Costs | Time Commitment | Risk of Error |
|---|---|---|---|---|---|---|
| Tiki Torch | Beginner | Easy | Low | Low | Low | Low ⚠️ |
| Tiki Torch | Beginner | Moderate | Low | Medium | Medium | Medium |
| Tiki Torch | Beginner | Difficult | Medium | Medium | High | High 🚨 |
| Wall-Mounted Torch | Intermediate | Easy | Medium | Medium | Medium | Low |
| Wall-Mounted Torch | Intermediate | Moderate | Medium | High | High | Medium |
| Wall-Mounted Torch | Intermediate | Difficult | High | High | Very High | High 🚨 |
| Fire Bowl | Advanced | Easy | High | Medium | Medium | Low |
| Fire Bowl | Advanced | Moderate | High | High | High | Medium |
| Fire Bowl | Advanced | Difficult | Very High | High | Very High | High 🚨 |
Illustrative comparison based on the article research brief. Verify current pricing, limits, and product details in the official docs before relying on it.
Professional Installation: What’s Involved?
If you’re leaning towards professional installation, you’re opting for convenience and peace of mind. A professional will handle the entire process, from site assessment to final testing. This typically includes a thorough evaluation of your desired torch locations, ensuring they meet safety standards and local codes.
Depending on the type of torches you’re installing, the process may involve digging trenches for gas lines (if using gas-fueled torches), running electrical wiring (for electric torches), and securely mounting the torches themselves. Professionals will also handle any necessary permitting and inspections, ensuring everything is up to code. They’ll also manage fuel line connections and leak testing.
The benefits are clear: a professional installation minimizes the risk of errors, ensures code compliance, and potentially results in a higher quality, more durable setup. You avoid the hassle of DIY and can simply enjoy your new patio lighting. It's particularly valuable if you're dealing with gas lines, as improper installation can be extremely dangerous.
- Site assessment and planning
- Permitting (if required)
- Installation of gas or electrical lines
- Torch mounting and connection
- Leak testing and safety checks
- Final inspection
Featured Products

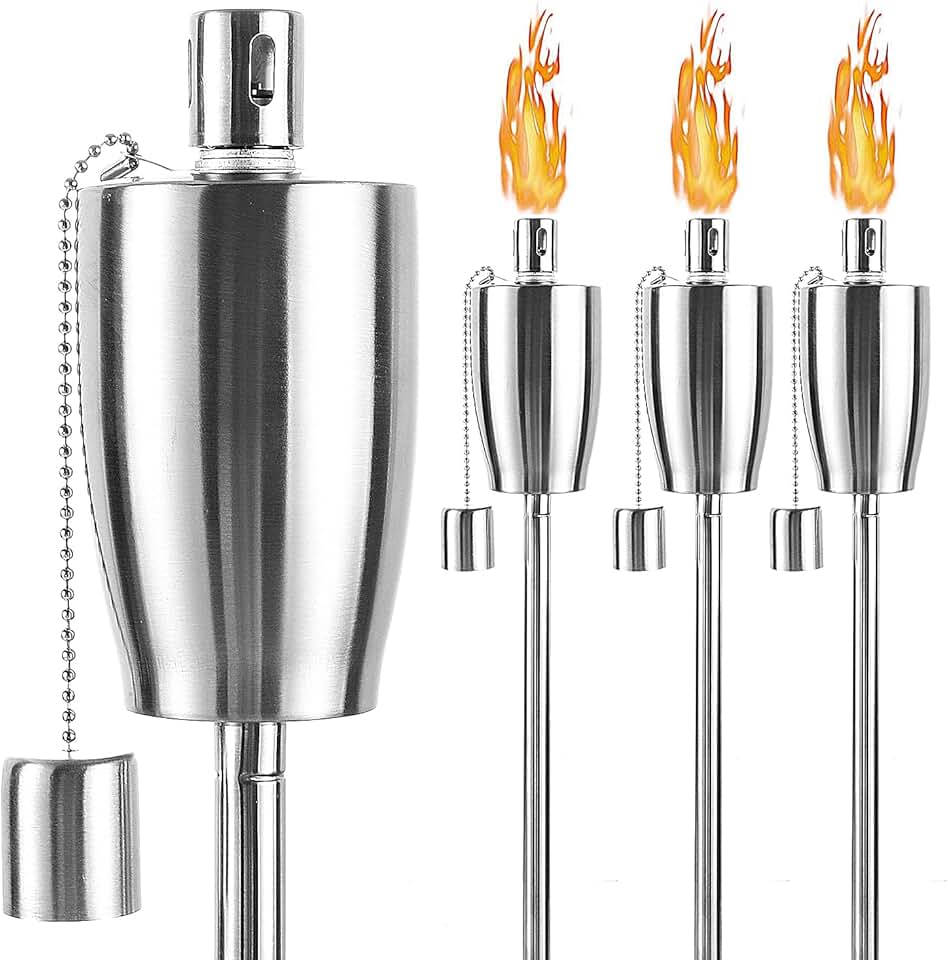
Easy installation for quick setup · Weather-resistant construction for durability · Includes wick and snuffer for convenience
This popular TIKI torch set offers an easy DIY installation option with a stylish design to enhance your outdoor ambiance.
Rustproof stainless steel for longevity · Includes funnel and fiberglass wicks · Generous 11.16 oz capacity per torch
These FAB BASED torches provide a durable and complete solution for your DIY patio lighting needs, coming in a convenient pack of four.
Copper and stainless steel construction · Wind shield for stable flame · Safety lock wick protection and child guard
This tabletop torch offers a safe and elegant DIY option with its wind-resistant design and child safety features.

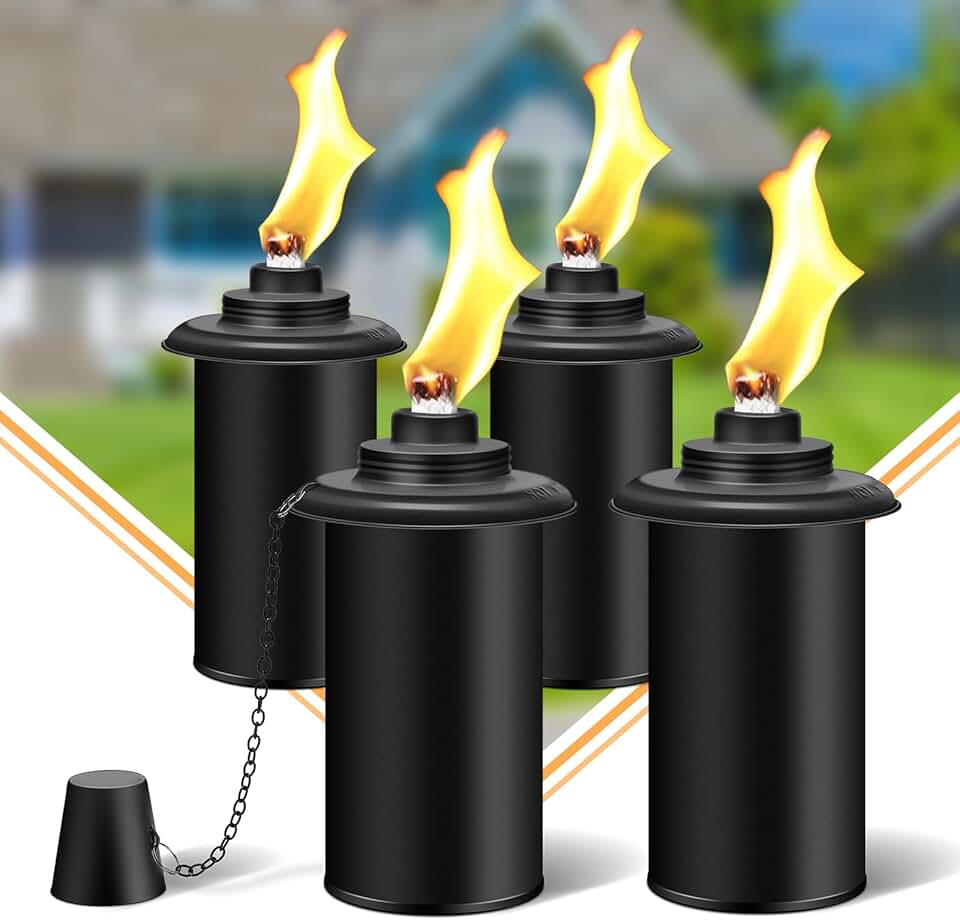
Stainless steel construction · Includes wick and snuffer · 12oz capacity for extended burn time
A practical DIY choice, these stainless steel tabletop torch canisters come in a 4-pack, perfect for creating a consistent look in your yard.
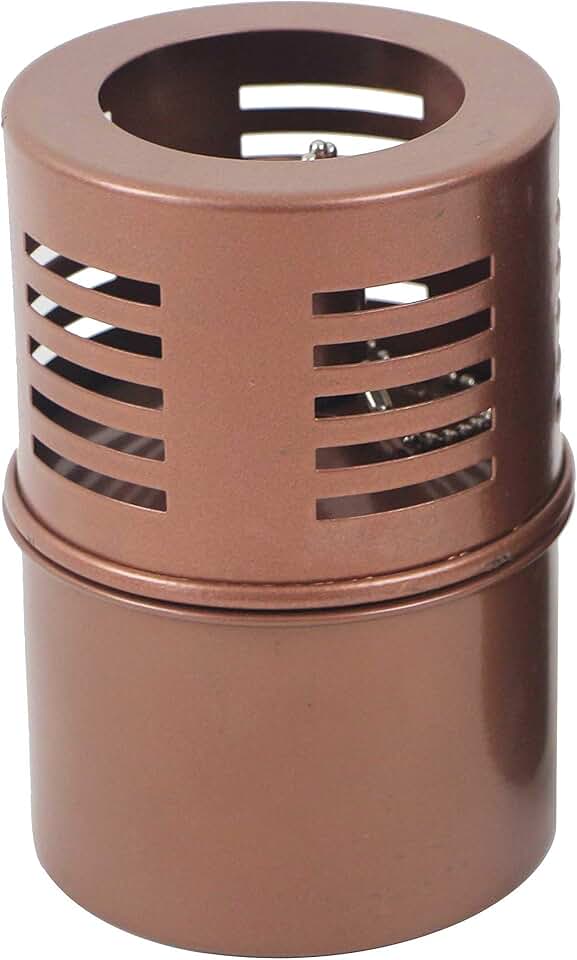
Refillable canisters for repeated use · Includes wicks and caps · 16oz capacity for larger fuel loads
These refillable torch canisters are an economical DIY option, providing everything you need to refresh your existing patio torches or create new ones.
As an Amazon Associate I earn from qualifying purchases. Prices may vary.
Pro Installation Costs: Regional Averages
Okay, let's talk about how much you can expect to pay a professional. Costs will vary significantly based on location, the complexity of the installation, and the number of torches being installed. Generally, you can expect to pay a labor fee plus the cost of materials.
As of late 2026, regional averages for professional torch installation range from $150 to $400 per torch. This typically includes labor, basic materials (mounting hardware, connectors), and a standard site assessment. More complex installations – such as those requiring new gas line runs or extensive electrical work – can easily exceed $500 per torch.
Permits, if required by your local municipality, can add another $50 to $200 to the total cost. Factors that can increase the cost include difficult terrain, the need for trenching, and the distance from existing gas or electrical sources. Getting multiple quotes from different contractors is always a good idea to ensure you're getting a fair price.
- Labor: $75 - $150 per hour
- Materials: $75 - $250 per torch (depending on type and complexity)
- Permits: $50 - $200 (if required)
Local codes and safety rules
This is non-negotiable: safety should be your top priority. Outdoor torches, particularly those using gas, are subject to building codes and regulations designed to prevent fires and ensure safe operation. These regulations vary by location, so it’s crucial to check with your local municipality before starting any installation.
Generally, codes will address issues such as minimum clearances from combustible materials, the type of fuel allowed, and the proper installation of gas lines and electrical connections. Many jurisdictions require permits for gas line work, and inspections to verify compliance. Ignoring these regulations can result in fines, and more importantly, put your property and safety at risk.
If you’re unsure about local codes, err on the side of caution and consult with a qualified professional. Don’t attempt to bypass safety measures or take shortcuts – it’s simply not worth the risk. Always follow the manufacturer's instructions for your specific torches and fuel.

No comments yet. Be the first to share your thoughts!