
Torch styles and fuel types
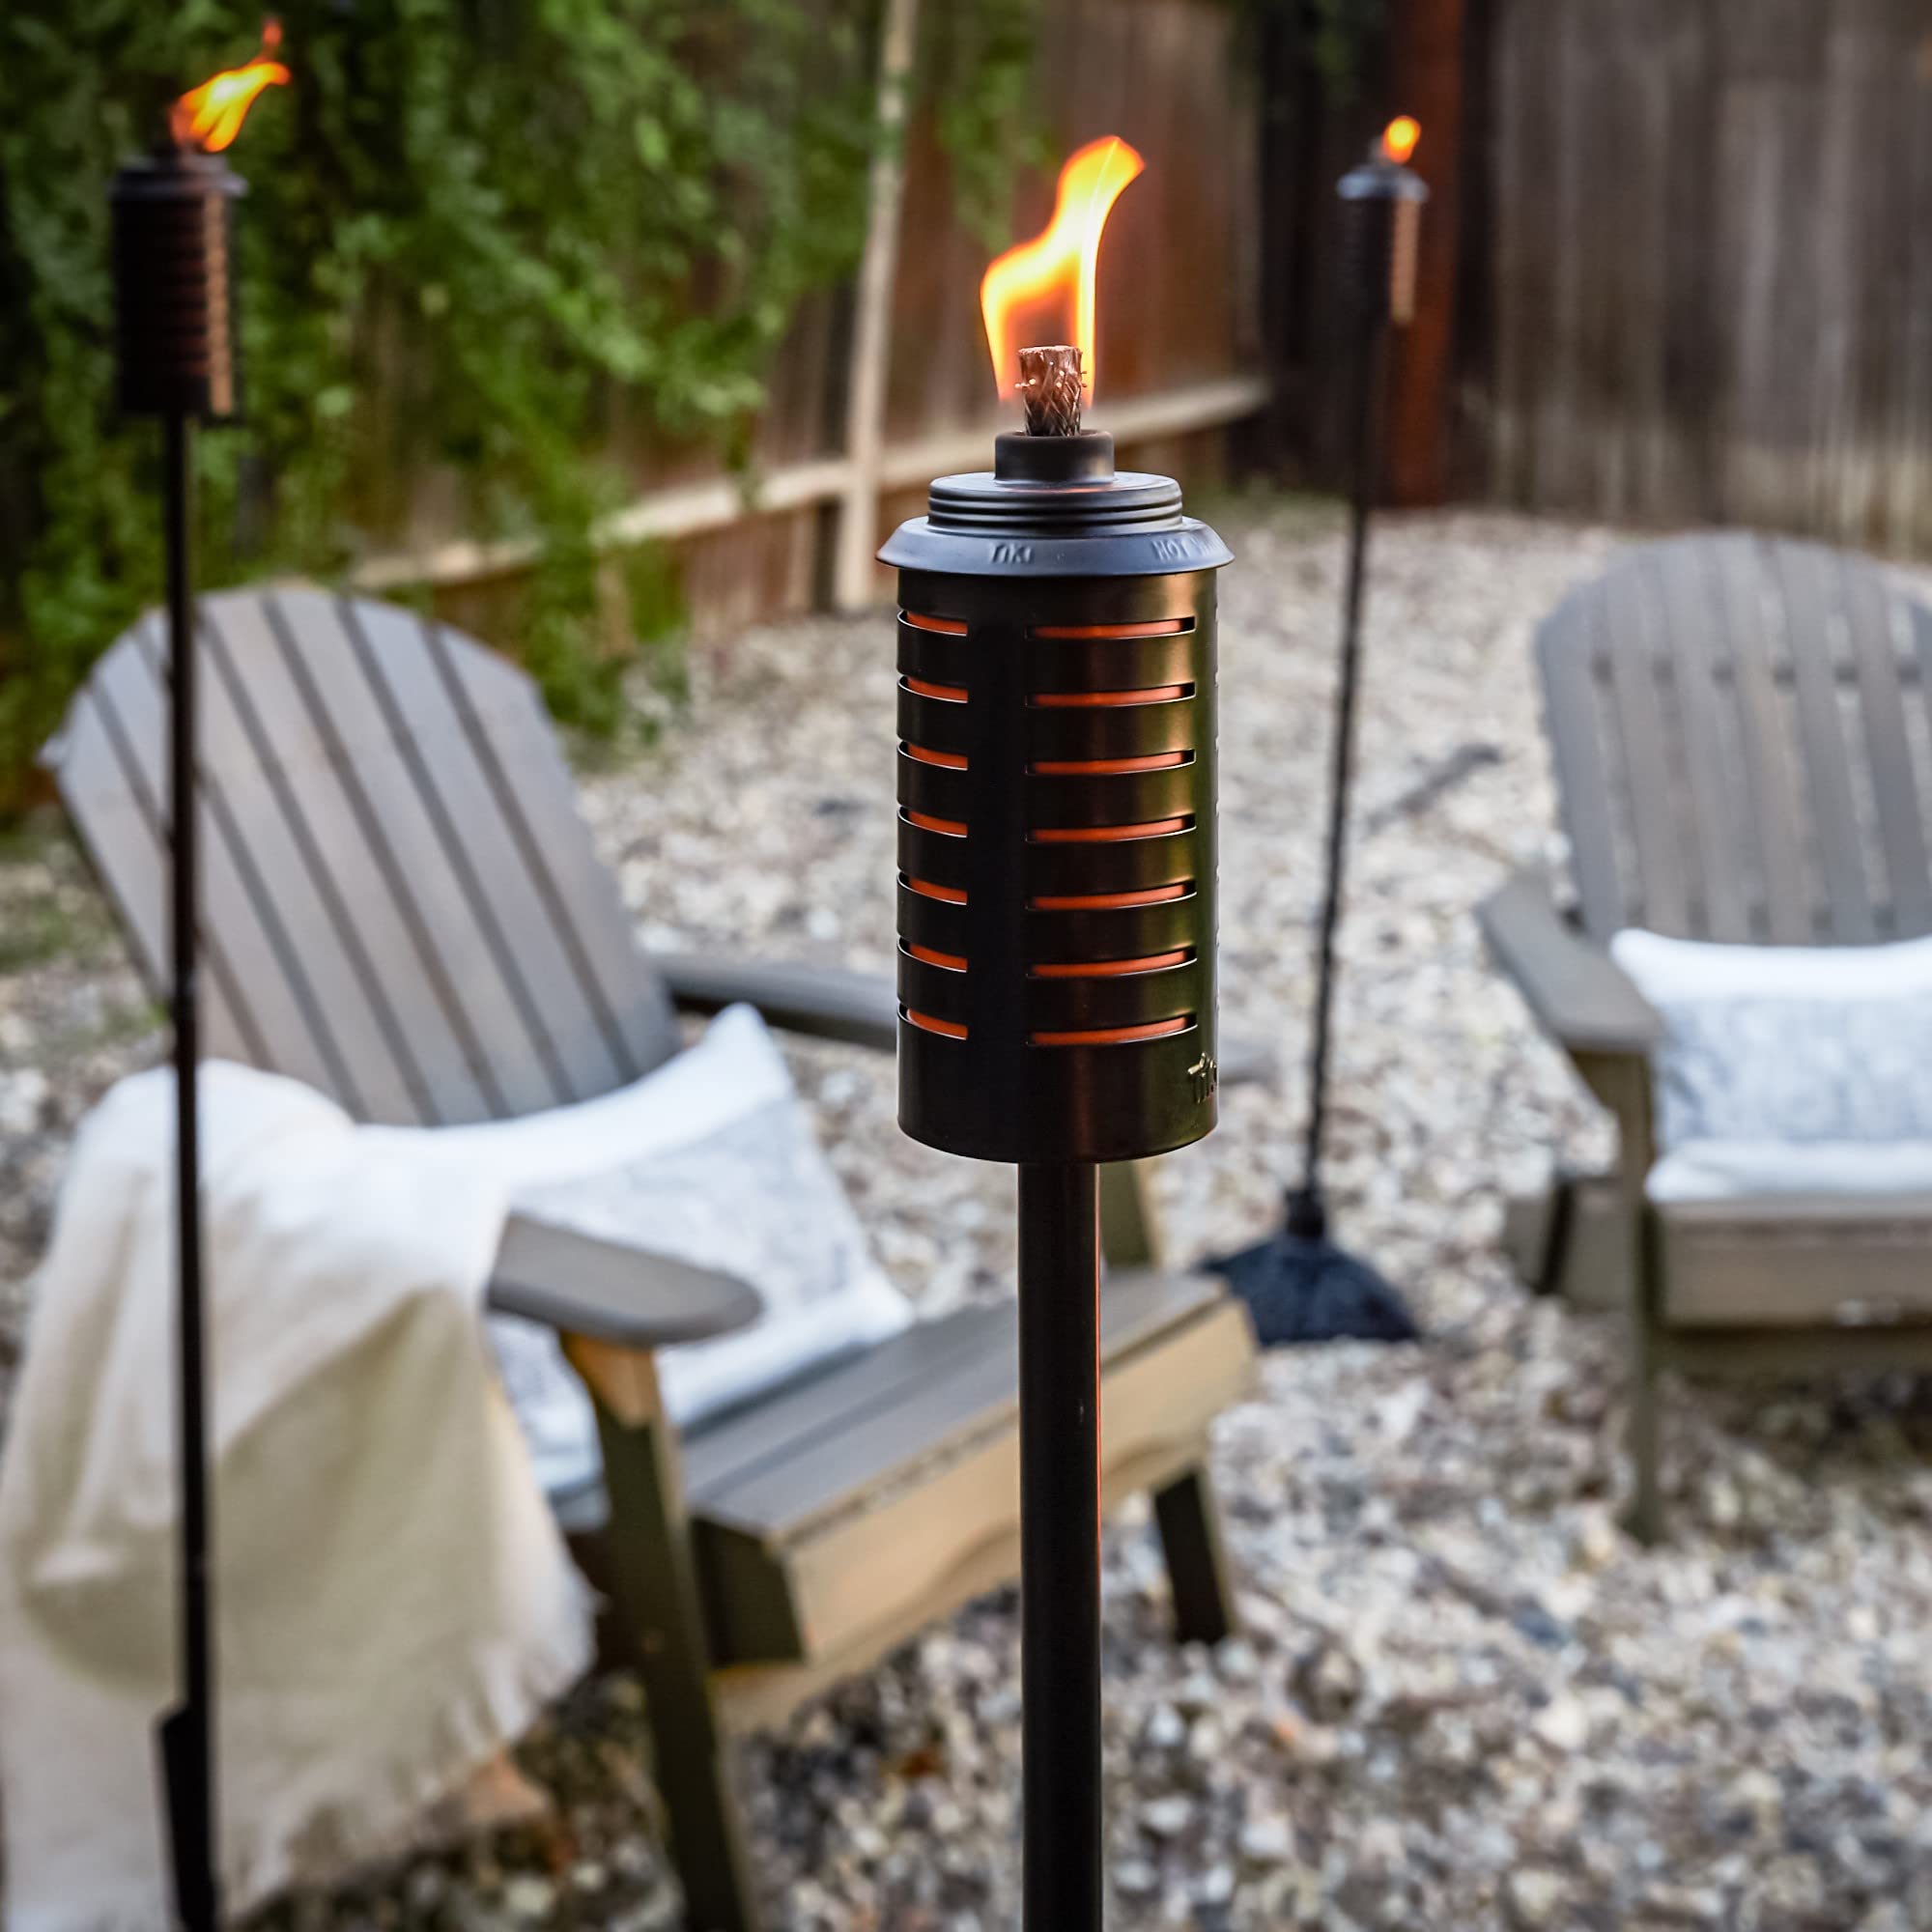
Outdoor torches aren't just bamboo tikis anymore. You can find path lights for walkways, wall-mounted brackets for decks, or heavy fire bowls that sit on the ground. I usually pick based on how much light I actually need versus how much space I have on the patio.
Fuel selection is just as important as the torch style itself. Citronella oil is a traditional choice, valued for its insect-repelling properties, though it requires frequent refilling. Paraffin is another common option, offering a clean burn but lacking the insect-repelling benefit. Propane torches provide a brighter, more consistent flame, but require a propane tank and regulator. Gel fuels are convenient and relatively safe, offering a smokeless burn, but can be more expensive.
I've found that considering the long-term costs associated with fuel is often overlooked. While a propane torch might seem appealing for its brightness, the ongoing expense of propane refills can add up quickly. Similarly, while citronella is inexpensive, the need for frequent purchases and potential messiness should be factored in. Don’t underestimate the impact of the torch’s material either—stainless steel is far more durable than cheaper alternatives.

Picking a safe spot
Responsible torch placement is paramount, not just for aesthetics, but for safety. The most important rule is to keep torches well away from any flammable materials. This includes overhanging tree branches, dry grass, shrubs, curtains, and outdoor furniture. A minimum clearance of ten feet is a good starting point, but increase this distance if conditions warrant it.
Wind is the biggest risk. A strong gust can knock a torch over or carry embers into dry brush. I try to place mine in sheltered corners or use heavy bases to keep them upright. Check your local fire codes too; many cities ban open flames during the summer months.
Finally, ensure the ground surface is level before installing any ground-mounted torch. An unstable base can easily lead to tipping. Even a slight incline can cause a torch to lean, increasing the risk of it falling over. A level surface isn't just about preventing accidents; it also ensures the torch burns evenly and looks its best.
How to mount torches in the ground
Installing a traditional ground-mounted torch is a relatively straightforward process, but attention to detail is crucial. Start by selecting your location, keeping the safety considerations mentioned earlier in mind. Then, dig a small hole, approximately 12-18 inches deep and wide enough to accommodate the torch base. The exact depth will depend on the torch’s stake length and desired stability.
Soil type significantly impacts the installation process. In sandy soil, you may need to dig a wider hole to provide a more secure footing. Clay soil can be compacted around the base for added stability, but avoid over-compacting, as this can hinder drainage. Rocky soil presents the biggest challenge; you may need to remove rocks or use a larger hole and more backfill material. Always check for underground utilities before digging—calling 811 is a free and essential service.
Once the hole is prepared, insert the torch and ensure it's plumb (perfectly vertical). Backfill the hole with soil, compacting it gently around the base. Avoid using large rocks or debris for backfill, as these can create uneven pressure. For added security, consider using gravel or small stones around the base to improve drainage and prevent the torch from shifting. I always recommend adding a layer of mulch around the base for aesthetic appeal and weed control.
A little extra effort during installation can prevent a lot of headaches later. Don’t rush the process, and double-check everything before moving on. A well-installed torch will provide years of reliable, safe operation.
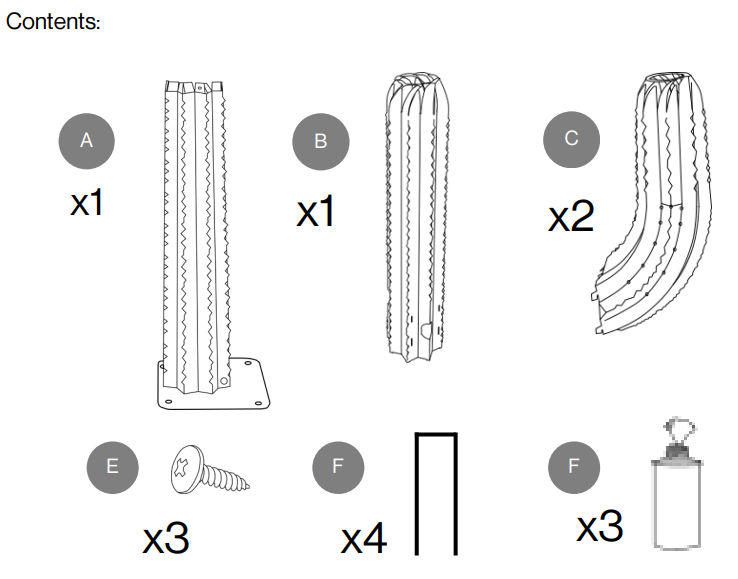
Wall & Rail Mounting: Secure Attachment
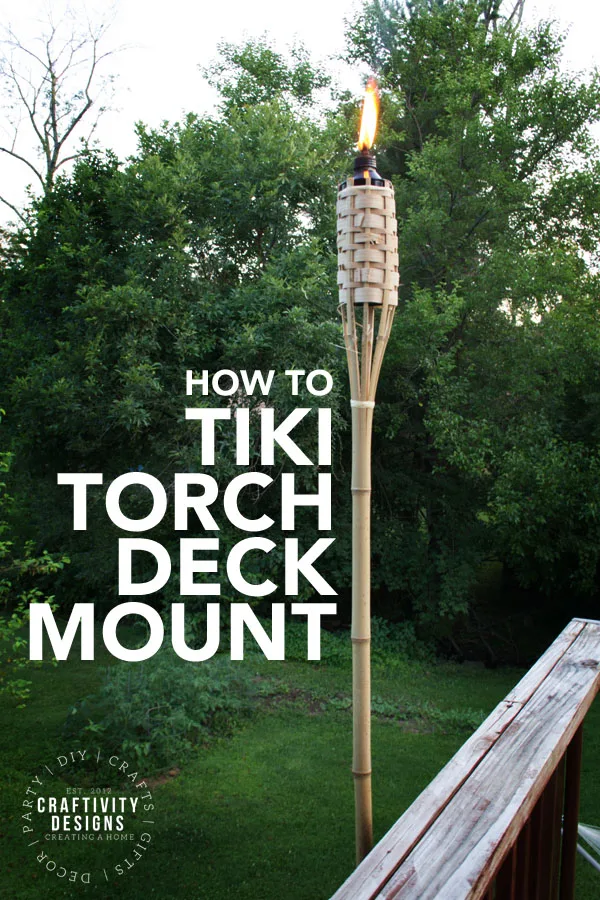
Mounting torches to walls, fences, or railings offers a different set of considerations. The key is to ensure a secure and stable attachment that can withstand wind and potential impacts. Start by selecting appropriate hardware—screws, brackets, and anchors—specifically designed for the mounting surface material. Wood requires wood screws, while brick or concrete necessitates masonry anchors.
Weight limits are critical. Always check the weight capacity of the mounting hardware and the wall or railing itself. Exceeding these limits can lead to failure and potential injury. Use corrosion-resistant hardware, such as stainless steel or galvanized steel, to prevent rust and ensure long-term durability. This is especially important in coastal environments or areas with high humidity.
If mounting to a wooden fence or deck railing, pre-drilling pilot holes is essential to prevent splitting the wood. For brick or concrete, use a masonry drill bit and follow the anchor manufacturer’s instructions carefully. I strongly recommend consulting a professional if you have any doubts about the structural integrity of the wall or railing. It’s better to be safe than sorry, especially when dealing with fire.
Weatherproofing: Protecting Your Investment
Protecting your torches from the elements is essential for maximizing their lifespan and maintaining their appearance. Rust is the primary enemy, particularly for steel or iron torches. Regularly applying a protective coating, such as a rust-inhibiting paint or sealant, can significantly slow down the corrosion process. I’ve had good results with spray-on rubber coatings, which provide a durable and waterproof barrier.
For LED torches, protecting electrical connections from moisture is crucial. Use waterproof connectors and seal any exposed wiring with electrical tape or heat-shrink tubing. Consider using a silicone sealant around the base of the torch to prevent water from seeping in. Regular inspection of wiring and connections is also essential, especially after periods of heavy rain or snow.
Extreme weather conditions require additional precautions. During heavy rain or snowstorms, it’s advisable to bring indoor any torches that aren’t securely mounted. Strong winds can topple even well-secured torches, so consider temporarily removing them or providing additional support. Draining fuel reservoirs during the off-season is also important to prevent freezing and potential damage. I use a siphon pump to remove the fuel and store it in a sealed container.
- Apply a rust-inhibiting sealant once a year.
- Use waterproof connectors for LED torches.
- Drain fuel reservoirs during winter.
- Inspect wiring regularly for damage.
Switching to LED torches
LED torches are a cleaner alternative if you don't want to mess with oil. Most just require batteries or a simple low-voltage wire connection. Many modern versions use a twist-and-lock head that makes swapping batteries easier than the old screw-top models.
App connectivity is a key feature of many LED torches, allowing for remote control of brightness, color, and lighting modes. Follow the manufacturer’s instructions for pairing the torch with your smartphone or tablet. Battery life is a crucial consideration; high-quality batteries and efficient LED technology can extend runtimes significantly. I’ve found that rechargeable batteries are a cost-effective and environmentally friendly option.
Troubleshooting common issues with LED torches often involves checking battery levels, ensuring proper wiring connections, and resetting the device. Refer to the manufacturer’s documentation for specific troubleshooting steps. The lack of an open flame is a major safety advantage of LED torches, but it's still important to follow all safety precautions.

No comments yet. Be the first to share your thoughts!