
Torch styles and materials
Backyard lighting sets the mood, and torches offer more variety than the standard bamboo poles found at hardware stores. You can find wide-flame fire bowls for a modern look, pathway torches to guide guests, or wall-mounted fixtures for a permanent setup.
The materials torches are made from really influence the vibe. Metal torches, often steel or iron, feel a bit more sophisticated and durable. Bamboo is the classic choice for a tropical feel, while some are made from weather-resistant resin. Thinking about the overall aesthetic of your outdoor space will help you choose the right style. Do you want a laid-back, Polynesian vibe, or something more modern and sleek?
Fuel is another thing to consider from the start. We’ll get into specifics later, but knowing whether you prefer the convenience of citronella, the power of propane, or another option will narrow down your choices. The size of your space also matters – a large yard can handle multiple larger fire bowls, while a small patio might be better suited to a few smaller tiki torches. It's about finding the right scale and style to complement your outdoor living area.
Choosing between citronella and propane
Citronella oil is the standard choice because it's cheap and easy to find. While it's sold as a mosquito repellent, I've found the effectiveness is hit-or-miss depending on the wind. The heavy scent is also a polarizing factor for guests.
Propane torches offer a cleaner burn and a much more consistent flame. They’re ideal if you want a reliable light source for evening gatherings. The downside is you need a propane tank, which isn’t the most aesthetically pleasing thing to have on your patio. There’s also the added cost of the tank and refills. I prefer propane for larger gatherings where I want a consistent, bright flame.
There are other options too. Paraffin wax is sometimes used, offering a longer burn time than citronella, but it doesn’t have the same insect-repelling benefits. Some torches use gel fuels, which are convenient and relatively clean. I’ve experimented with a few different types, and honestly, citronella is still my go-to for casual use, while propane wins for larger events or when I need a guaranteed flame. It really depends on what you're looking for in terms of convenience, cost, and performance.
lists
- Citronella oil: Cheap and accessible but has a polarizing scent and inconsistent bug-repelling results.
- Propane: Cleaner burn, consistent flame, requires a tank, more expensive.
- Paraffin Wax: Longer burn time, no insect repellent.
- Gel Fuels: Convenient, relatively clean.
Fuel Type Comparison: Choosing the Right Fire for Your Torch
| Cost | Burn Time | Scent | Flame Quality | Safety & Environment |
|---|---|---|---|---|
| Generally Lower | Shorter | Citronella scent – insect repellent | Moderate, can flicker | Requires careful monitoring; potential for smoke & soot. |
| Moderate | Longer | Typically odorless | Consistent, controllable | Propane tanks require safe storage & handling. |
| Lower | Moderate | Often odorless, can be perfumed | Bright, steady | Potential for soot & requires careful extinguishing. |
| Moderate to Higher | Very Long | Odorless | Clean burning, minimal smoke | Generally safer, but still requires caution around flammable materials. |
| Lower | Shorter | Strong citronella scent | Smaller flame, good for ambiance | Can be messy; potential for spills & attracting insects. |
| Moderate | Moderate | Minimal scent | Adjustable flame height | Requires regular wick trimming for optimal performance. |
Qualitative comparison based on the article research brief. Confirm current product details in the official docs before making implementation choices.
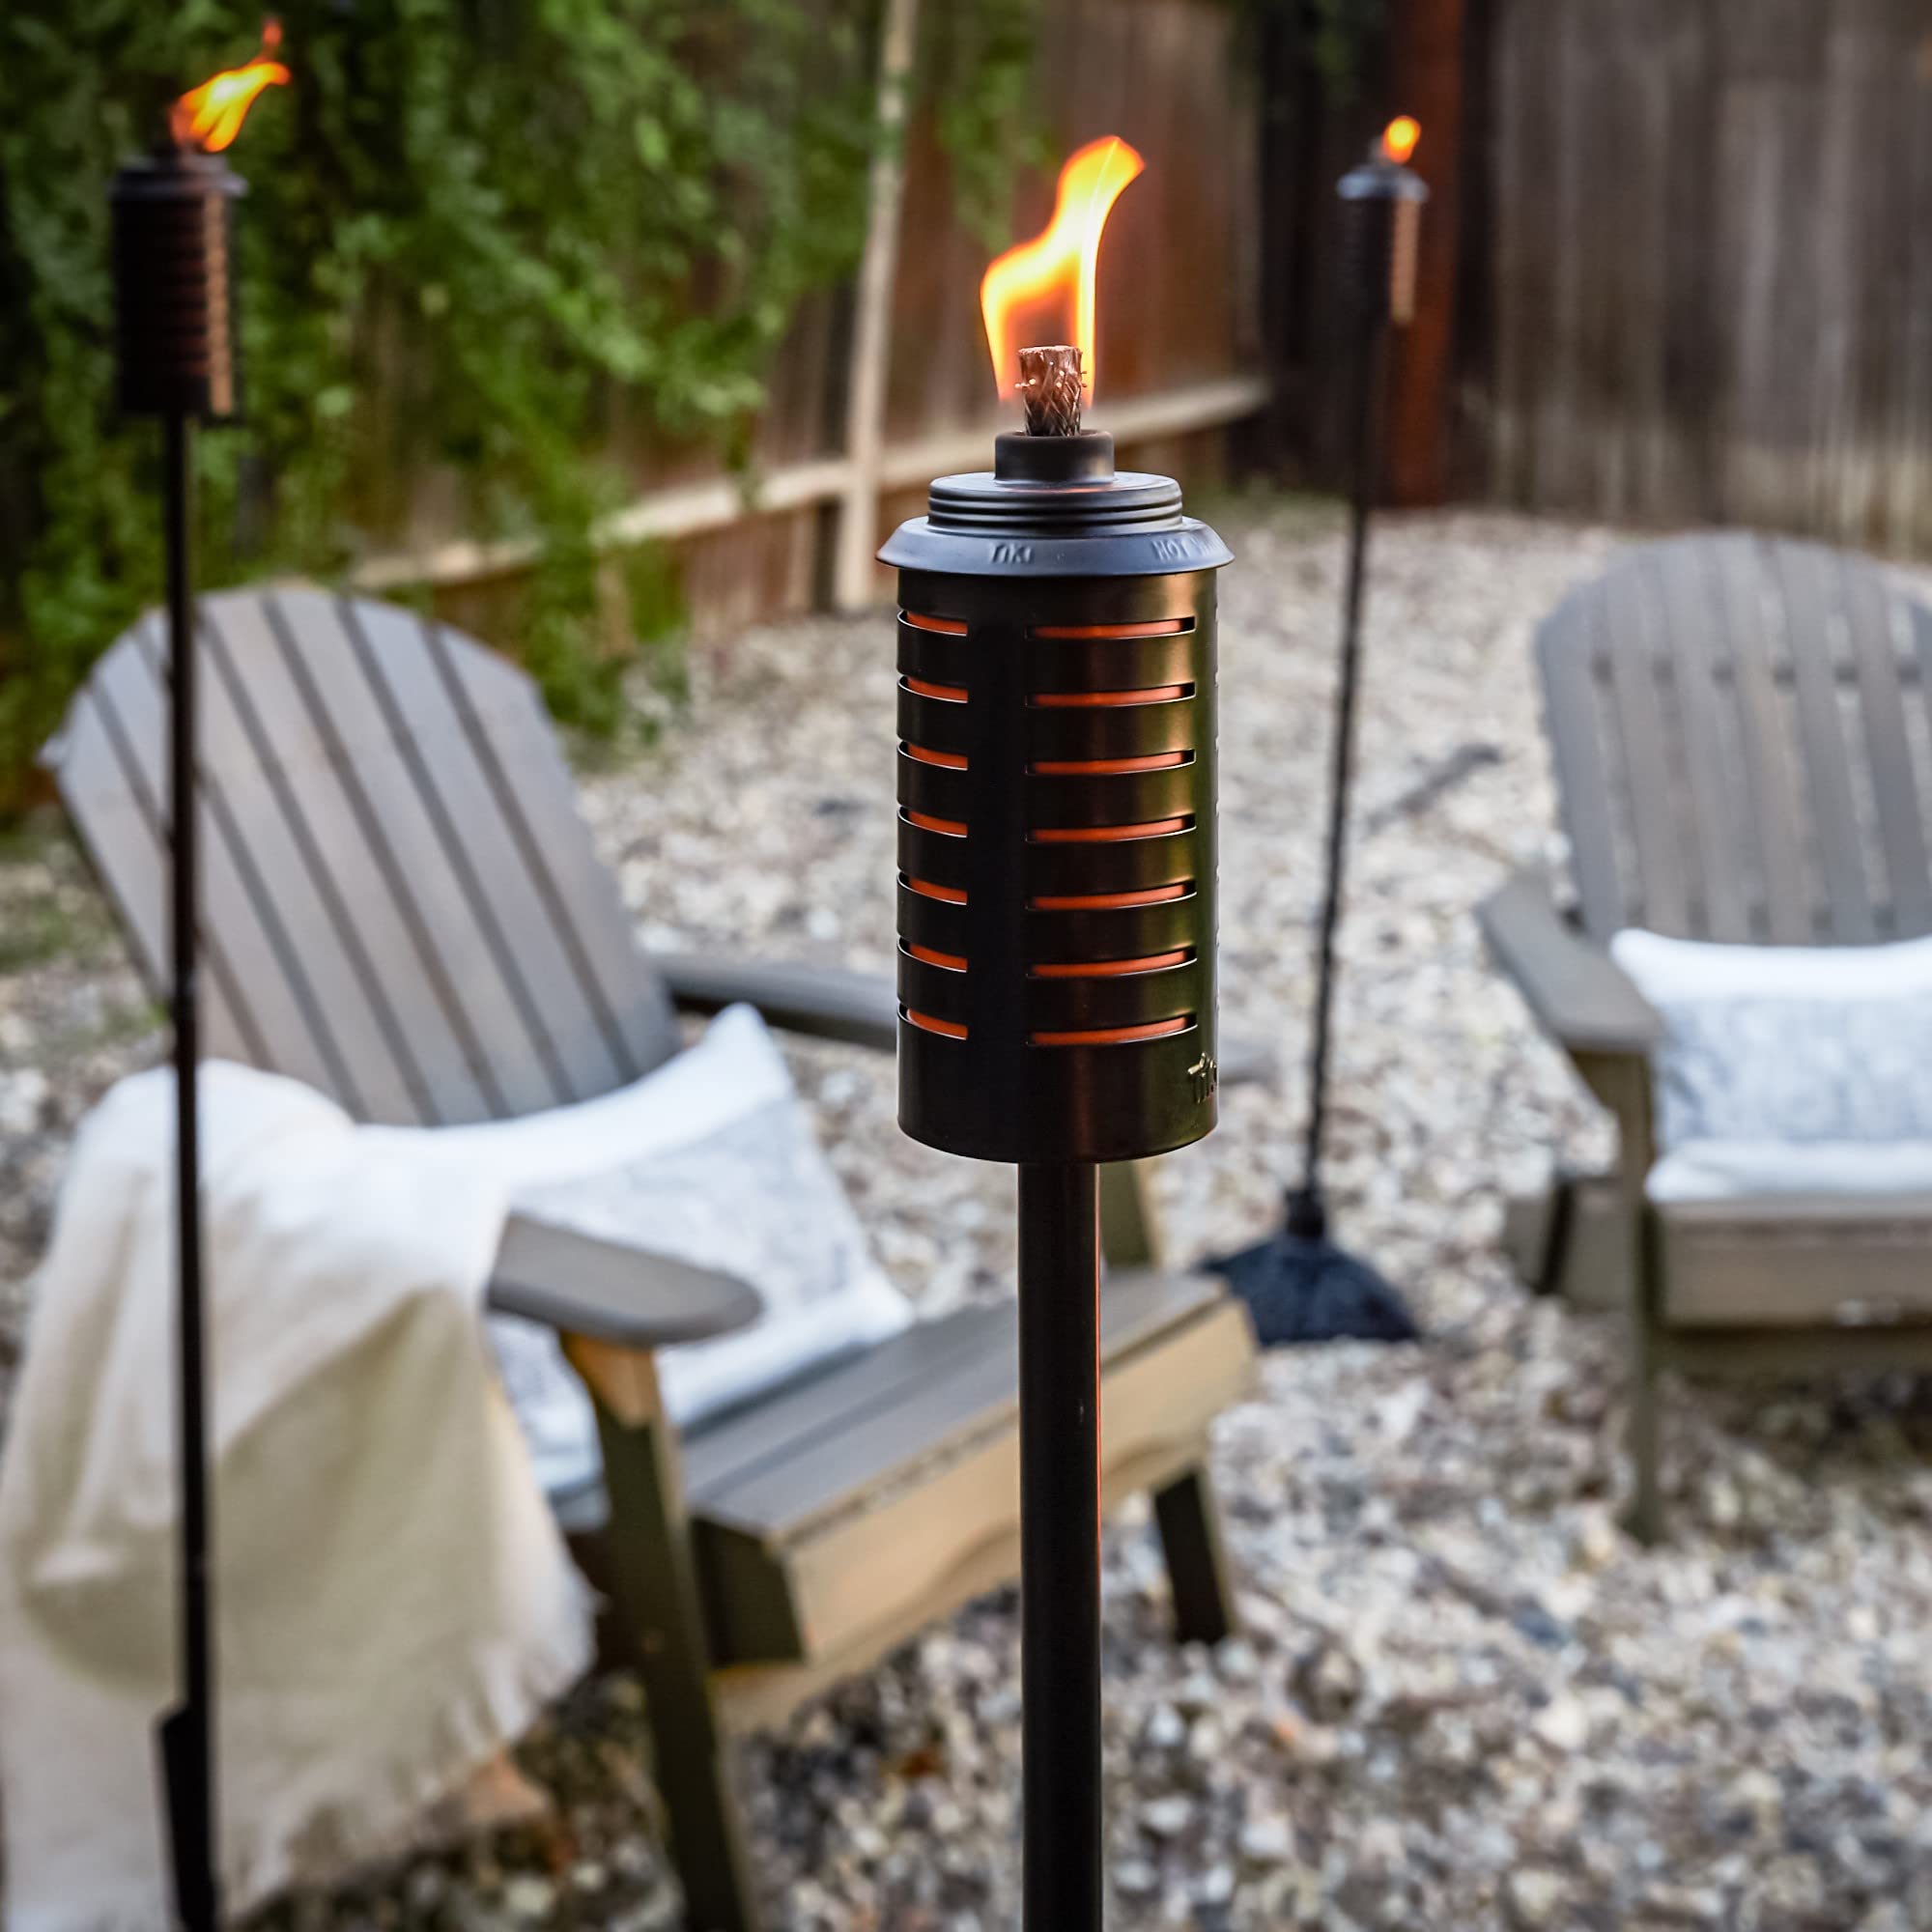
Placement and safety clearances
Safety is the main priority here. Always place torches on level ground because a wobbly pole is a fire hazard. TIKI Paradise instructions specify keeping flames away from furniture, low branches, and dry grass.
A good rule of thumb is to maintain at least a six-foot clearance from any structures or combustible materials. Wind is a huge factor too. A strong gust can easily blow a flame into something it shouldn’t. If it’s windy, consider moving torches to a more sheltered location or using a windbreak. Never leave a burning torch unattended – ever. It’s tempting to just walk away, but it's not worth the risk.
Constant supervision is key. Also, be mindful of where people are walking. You don’t want anyone accidentally bumping into a torch and getting burned. It seems obvious, but it's easy to overlook. The warnings on the TIKI torch packaging (doclibrary.com) are pretty clear: outdoor use only, keep out of reach of children and pets, and never leave unattended. These aren’t suggestions; they’re critical safety guidelines.
- Place torches on a level surface.
- Maintain at least 6 feet of clearance from structures and flammable materials.
- Consider wind conditions and use windbreaks if needed.
- Never leave a burning torch unattended.
- Supervise torch use, especially around children and pets.
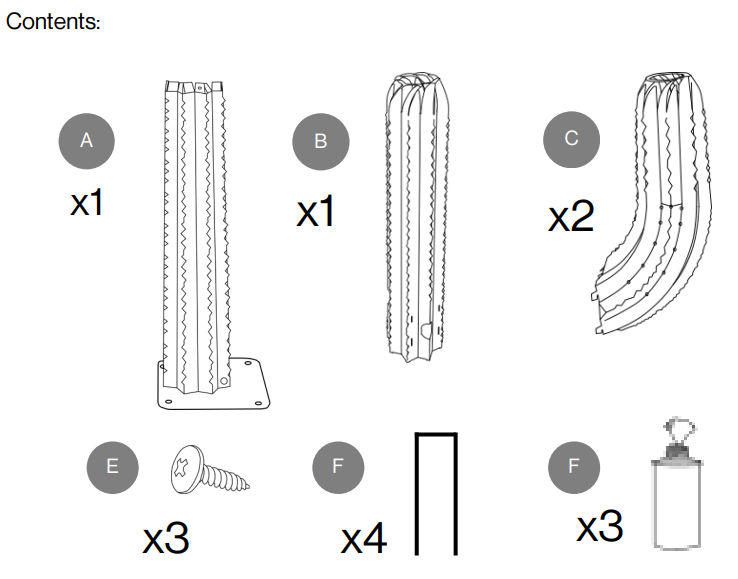
How to assemble a tiki torch
Let’s walk through assembling a traditional tiki torch. According to H Potter's blog (hpotter.com), most torches consist of a canister (the base), a wick, and a snuffer or cap. Start by attaching the base to the pole sections. Typically, these sections screw or snap together. Make sure they are securely connected. The video on mounting a tiki torch (youtube.com) shows a simple method using a hammer and PVC pipe to secure it in the ground, which is helpful if you want a more permanent setup.
Next, insert the wick into the torch head. This can sometimes be a tight fit, so be patient. The wick needs to be long enough to reach the fuel in the canister, but not so long that it’s dangling excessively. Once the wick is in place, carefully fill the canister with fuel – citronella oil is the most common choice. Avoid overfilling! Leave some space at the top to prevent spills.
Allow the wick to saturate with fuel for at least 15-20 minutes before lighting. This ensures a consistent burn. Once the wick is saturated, light it with a long-handled lighter or match. Use the snuffer cap to extinguish the flame when you’re finished. It's a simple process, but taking your time and following these steps will ensure a safe and enjoyable experience. If you're having trouble getting the wick to stay lit, try trimming it slightly.
Fire Bowl Setup: Stability and Base Prep
Setting up a fire bowl is a little different than assembling a tiki torch. The key here is stability. You need a solid, level base to prevent the bowl from tipping over. This could be a gravel bed, a sand-filled ring, or a dedicated fire bowl stand. I recommend a gravel base as it provides good drainage and a stable surface.
Once you’ve chosen your base, carefully level the fire bowl. Use a level to ensure it’s perfectly even. This is crucial for preventing the fuel from pooling to one side and creating an uneven burn. Always check the manufacturer’s instructions for the recommended fuel capacity of your fire bowl. Don’t overfill it!
If you live in a windy area, consider adding a windbreak around the fire bowl. This could be a simple screen or a more elaborate structure. A windbreak will help to stabilize the flame and prevent it from being blown around. Remember to always supervise the fire bowl while it’s burning and keep flammable materials away.
LED Torch Installation: A Modern Alternative
If you’re looking for a flame-free option, LED torches are a great choice. Haven Lighting’s LED tiki torches (youtube.com) are a popular example. These combine the look of a traditional tiki torch with the convenience and safety of LED technology. Installation typically involves assembling the torch pole and attaching the LED light fixture.
The Haven Lighting torch requires a power source, which is usually a rechargeable battery. Follow the manufacturer’s instructions for charging and replacing the battery. Some models also offer remote control functionality, allowing you to adjust the brightness and color of the light. This is a really cool feature for creating different moods.
The biggest benefit of LED torches is, of course, safety. There’s no open flame, so there’s no risk of fire. They’re also a great option for areas where open flames are prohibited. Plus, you can customize the color to match your event or mood. It’s a modern and convenient alternative to traditional torches.
Troubleshooting: Common Torch Problems
Let’s face it, things don’t always go smoothly. Here are a few common torch problems and how to fix them. If your wick won’t stay lit, try trimming it slightly. A long, frayed wick can be difficult to ignite. If the flame is flickering, it could be due to wind or a low fuel level. Shield the torch from the wind or add more fuel.
Fuel leaks are a more serious problem. Check the canister for cracks or damage. If you find any, replace the canister immediately. An uneven burn is often caused by an improperly saturated wick. Allow the wick to soak in fuel for a longer period of time before lighting. I’ve also found that sometimes a bit of repositioning of the wick can help even things out.
I once had a torch that kept sputtering and going out, and it turned out the wick was clogged with debris. A quick cleaning with a small brush solved the problem. Don’t be afraid to experiment and troubleshoot. With a little patience, you can usually get your torches burning brightly and safely. Remember, safety first!


No comments yet. Be the first to share your thoughts!