
DIY vs. professional patio torch installation
Imagine this: warm evenings, good company, and a beautifully lit patio. You're picturing the perfect ambiance, and patio torches are a key part of that vision. But then reality sets in – how do you actually get those torches installed? Do you tackle it yourself, saving money but potentially adding stress, or do you call in a professional and let them handle everything?
That’s the question we’re here to answer. This isn’t about declaring one approach "better’ than the other. It’s about giving you the information to make the smartest choice for your needs, budget, and skill level. Both DIY and professional installation have their pros and cons, and we"ll break down everything you need to know to make an informed decision in 2026.
We’ll cover the costs involved in each option, the steps required, and when it’s absolutely best to leave the job to an expert. Whether you’re a seasoned DIYer or prefer to relax and enjoy the finished product, this guide will help you create the outdoor oasis you’ve been dreaming of.
DIY torch installation costs
Let’s start with the DIY route. The biggest appeal is often the cost savings, but it's important to be realistic about what's involved. The total cost will vary wildly depending on the type of torches you choose and the complexity of the installation.
First, the torches themselves. Basic citronella torches can be found for as little as $15-$30 each, while more decorative or larger propane torches can range from $80 to $200+ per torch. High-end copper or stainless steel options can easily exceed $300. Then there’s fuel. A gallon of citronella oil currently runs around $20-$30, and will likely be $25-$35 by 2026. Propane tanks require an initial investment of $50-$100 for the tank itself, plus ongoing refills at around $15-$25.
Don’t forget the tools! For simple freestanding torches, you might only need a shovel. However, if you’re setting posts, you'll likely need a post hole digger ($40-$80 to rent, $100+ to buy), a level ($15-$30), and potentially concrete mix ($5-$10 per bag). If you're converting a torch to natural gas, you're looking at a gas line connector kit ($30-$60) and potentially a pipe wrench ($20-$40).
Finally, consider landscaping materials. You might want to add gravel or sand around the base of the torches for aesthetic purposes and to improve drainage, adding another $20-$50 per torch. A hidden cost that often surprises people is the need to rent a power auger or post hole digger for harder ground – these can easily run $100-$200 per day. Realistically, a basic DIY installation with 5 simple citronella torches could cost between $150 and $400, while a more elaborate propane setup could easily exceed $600.
- Torches: $15 - $300+ per torch
- Citronella Fuel: $25 - $35 per gallon (projected 2026)
- Propane Tank: $50 - $100 (initial cost)
- Propane Refills: $15 - $25
- Post Hole Digger (Rental): $40 - $80
- Level: $15 - $30
- Concrete Mix: $5 - $10 per bag
- Gas Line Connector Kit: $30 - $60
- Pipe Wrench: $20 - $40
- Landscaping Materials: $20 - $50 per torch
Patio Torch Installation: DIY vs. Professional - Estimated Cost Breakdown (2026)
| Torch Type | Torch Cost (USD) | Annual Fuel Cost (USD) | Tool Cost (One-Time, USD) | Complexity | Estimated Total Cost (First Year, USD) |
|---|---|---|---|---|---|
| Tiki Torch (Traditional) | 20 - 80 | 50 - 150 (Citronella Oil) | 10 - 50 (for mounting/accessories) | Low 🟢 | 70 - 280 |
| Propane Torch | 75 - 250 | 80 - 200 (Propane Tank Refills) | 25 - 75 (for regulator/hose) | Medium 🟡 | 180 - 525 |
| Natural Gas Torch | 150 - 400 | 60 - 180 (Natural Gas Usage) | 50 - 150 (Gas line fittings/permit) | High 🔴 | 260 - 730 |
| Fire Bowl (Wood Burning) | 100 - 300 | 50 - 200 (Wood) | 20 - 60 (Fire poker, gloves) | Low 🟢 | 170 - 560 |
| Propane Fire Bowl | 200 - 600 | 100 - 300 (Propane Tank Refills) | 30 - 100 (Regulator, hose) | Medium 🟡 | 330 - 1000 |
| Natural Gas Fire Pit/Bowl | 400 - 1200+ | 75 - 250 (Natural Gas Usage) | 75 - 200+ (Gas line installation/permit) | High 🔴 | 550 - 1650+ |
Illustrative comparison based on the article research brief. Verify current pricing, limits, and product details in the official docs before relying on it.
What to expect from professional installation
Hiring a professional takes the guesswork (and physical labor) out of the equation. But what does a professional installation actually include? It typically begins with a site assessment to determine the best torch placement, taking into account safety, aesthetics, and local regulations.
A good professional will also check for underground utilities before digging any post holes. Permitting might be required, especially if you’re installing a natural gas line – the pro will usually handle this for you. They’ll then install the torch posts, connect any fuel lines, and thoroughly test for leaks. Expect them to perform safety checks to ensure everything is functioning correctly.
Finally, a reputable installer will clean up the work area and provide you with instructions on torch operation and maintenance. Who should you hire? Options include landscapers, plumbers (essential for gas line installations), and general contractors. The key is to choose someone licensed and insured, with experience in outdoor lighting and gas line work. Their expertise ensures the job is done safely and according to code.
Professional installation costs
The cost of professional installation varies significantly depending on your location. Urban areas with a higher cost of living generally charge more than rural areas. Labor rates are a major factor, ranging from $75 to $150+ per hour. Some professionals offer flat fees for standard installations, which can provide more cost certainty.
Materials costs will also be factored into the quote. Expect to pay a markup on the torches themselves, as well as the cost of fuel lines, connectors, and any necessary excavation work. Add-on costs can quickly add up. Electrical work, if needed for lighting features, can easily add $200-$500 to the bill. Landscaping adjustments, such as leveling the ground or adding gravel, can cost another $100-$300.
Based on recent estimates, a basic torch installation (5 torches, no gas line work) in a mid-sized city could cost between $500 and $1,200. More complex installations, involving gas lines or extensive landscaping, could easily exceed $2,000. To get an accurate estimate, it’s best to obtain quotes from multiple professionals in your area.
- Labor Rate: $75 - $150+/hour
- Basic Installation (5 torches, no gas): $500 - $1,200
- Electrical Work: $200 - $500+
- Landscaping Adjustments: $100 - $300+
Featured Products

Convertible design for versatility · Stylish glass pineapple top · Durable copper finish
This TIKI Brand torch adds a touch of tropical elegance to your patio with its unique pineapple design and reliable flame.

High BTU output for efficient heating · Three burners for wider coverage · Ideal for metalworking and repairs
For more involved DIY projects, this Flame King torch offers powerful performance for tasks like brazing and soldering.

High output for demanding tasks · Adjustable long/short mode · Includes a long hose and self-igniter
Tackle tough outdoor jobs from weeding to ice melting with this heavy-duty propane torch featuring a long hose for extended reach.

Integrated lighter for easy ignition · Propane powered for convenience · Compact and user-friendly design
This Flame King weed burner is a budget-friendly and easy-to-use option for quick outdoor cleanup tasks.
As an Amazon Associate I earn from qualifying purchases. Prices may vary.
DIY Installation: Step-by-Step Guide
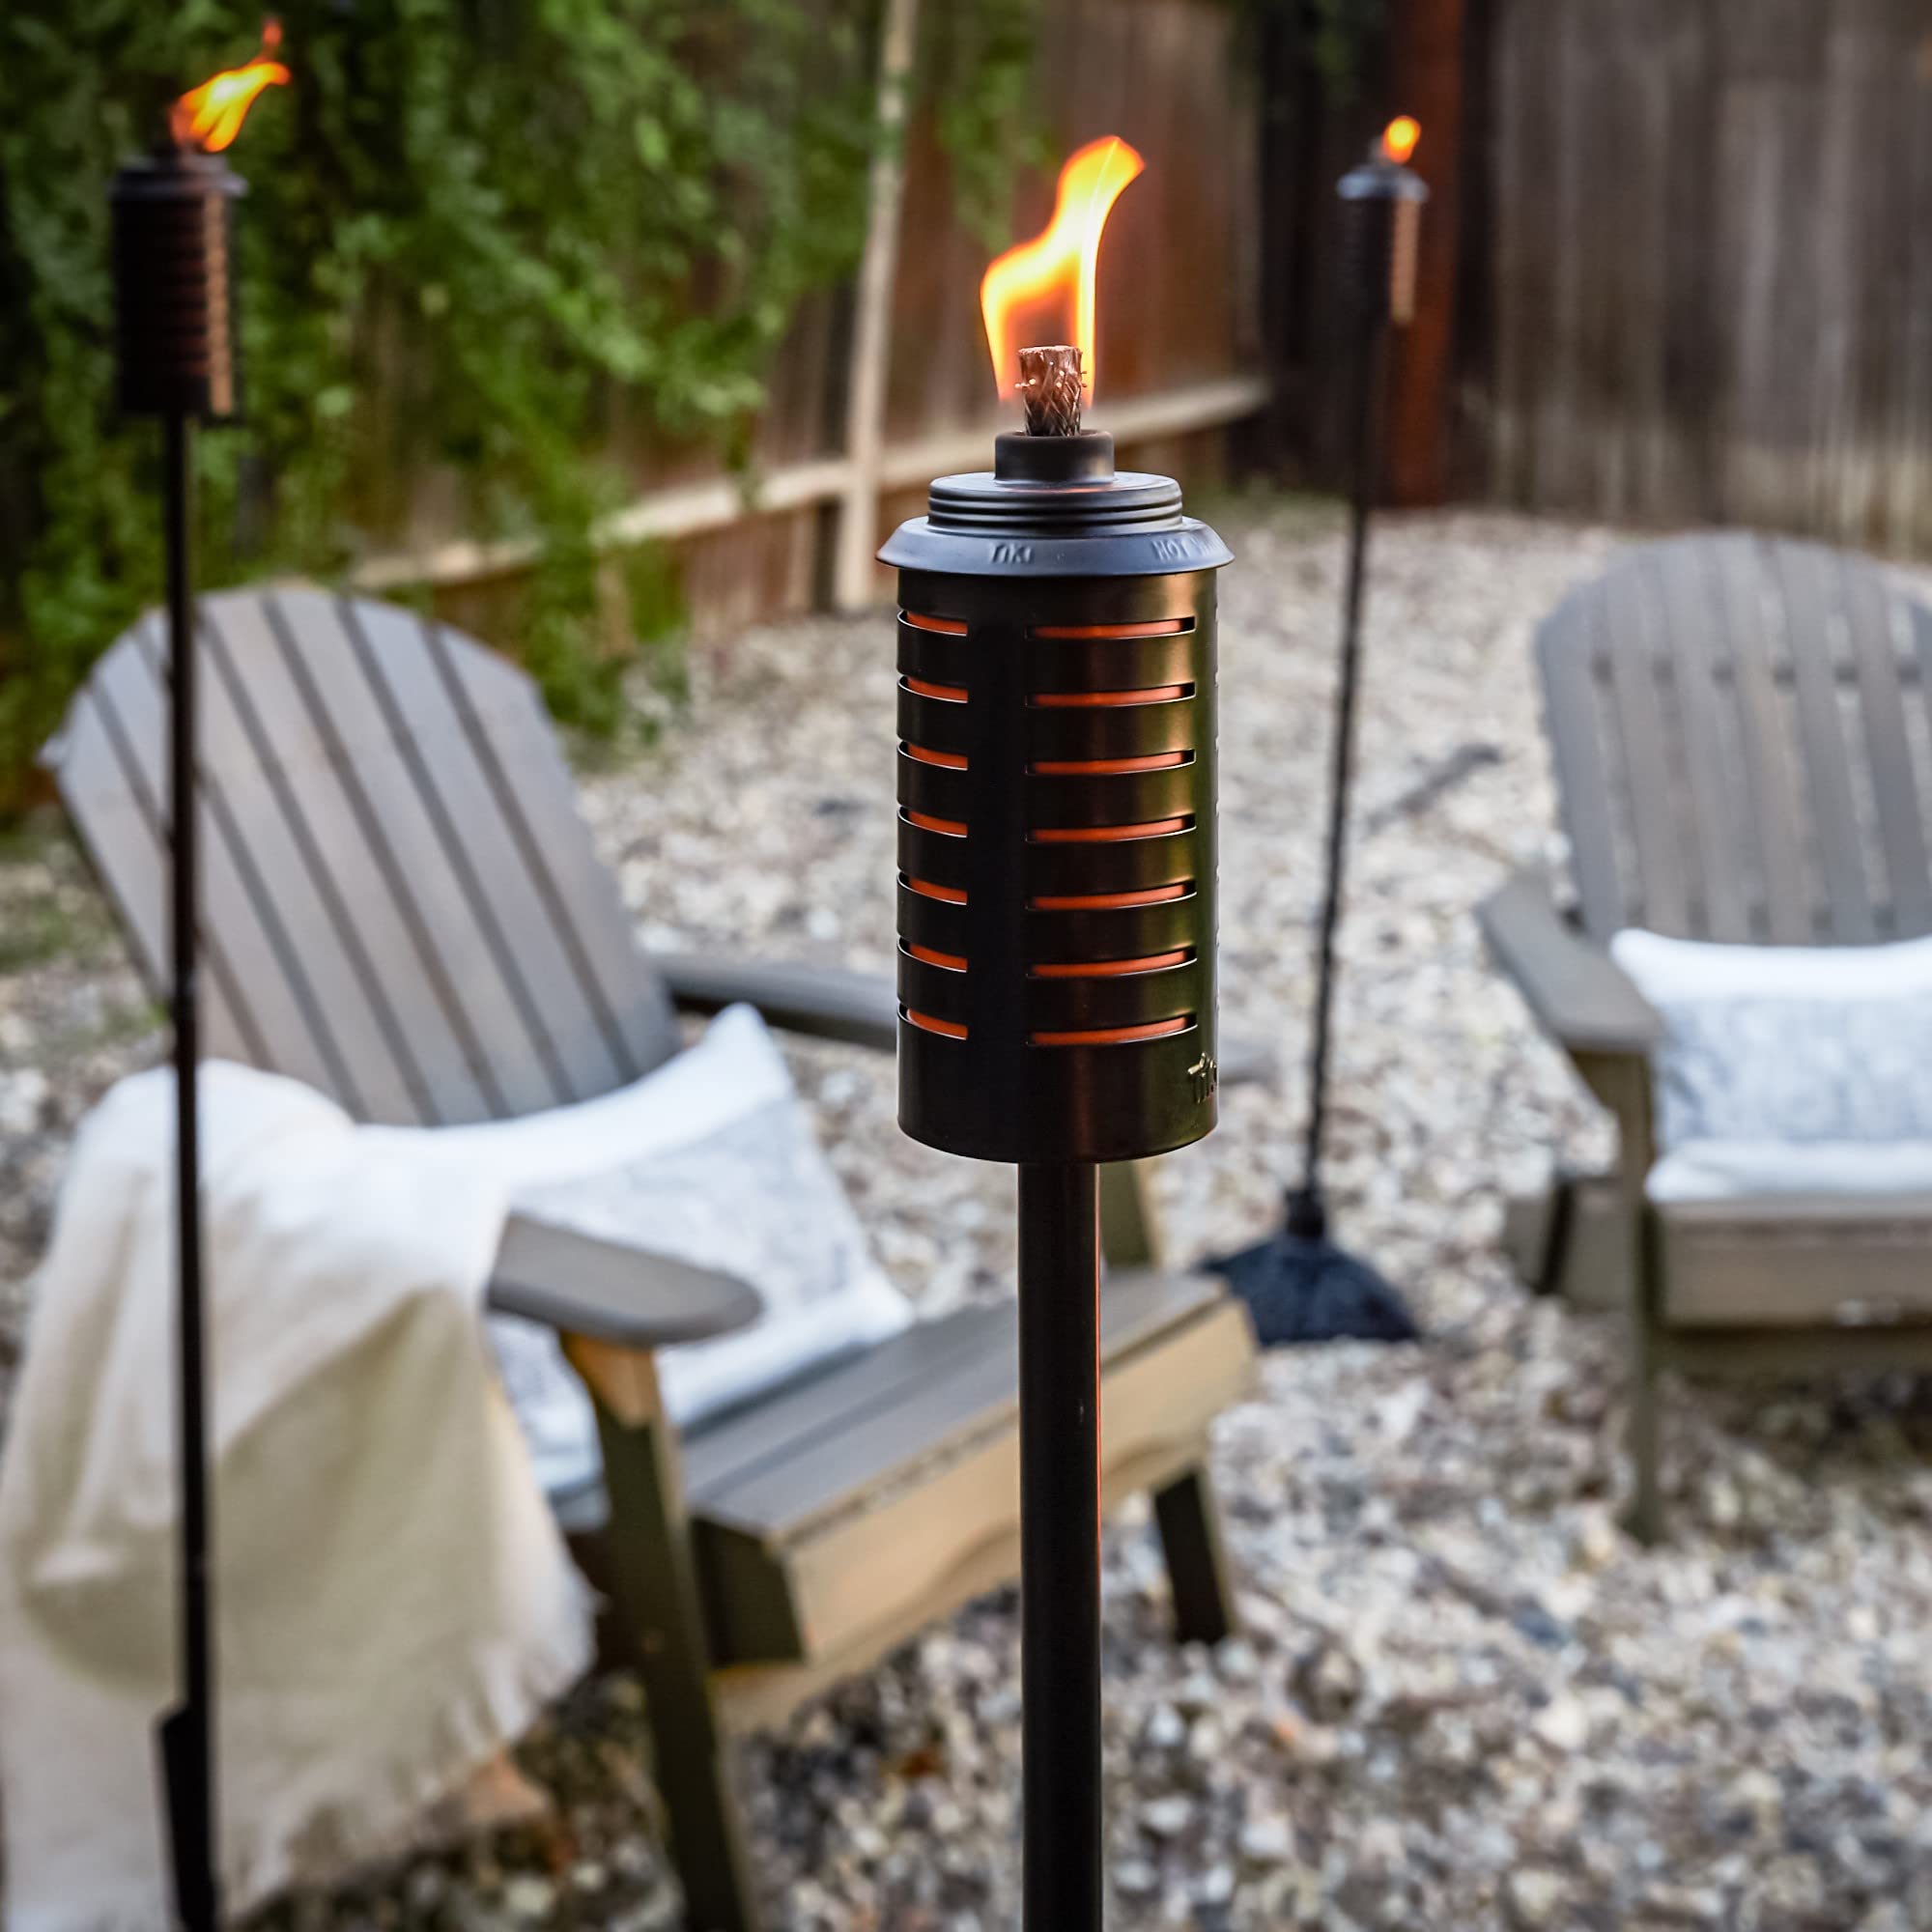
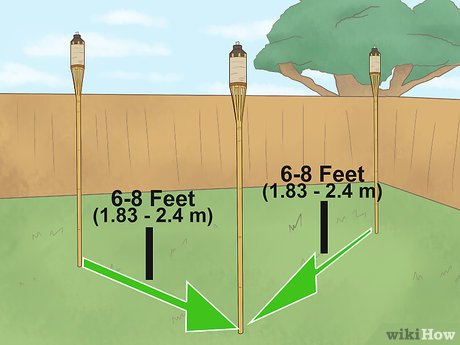
Let’s walk through a basic DIY installation of a freestanding tiki torch. Safety first! Always wear gloves and eye protection. Be aware of any underground utilities before digging – call 811 before you dig. Begin by choosing a level spot for your torch, away from flammable materials like trees or bushes.
Next, dig a hole deep enough to securely anchor the torch post. The depth will depend on the height of the torch and the soil conditions, but generally 12-18 inches is sufficient. Place the post in the hole, ensuring it’s level. Fill the hole with concrete mix, following the manufacturer’s instructions. Allow the concrete to cure completely before proceeding.
Once the concrete is set, assemble the torch according to the manufacturer’s instructions. This usually involves attaching the torch bowl and wick holder. Carefully fill the torch bowl with citronella oil, being careful not to overfill. Insert the wick and allow it to soak up the oil for at least 15 minutes before lighting. You can find a helpful visual guide to the process on YouTube: – but remember to prioritize safety.
When to Call a Pro: Complex Setups
While DIY is great for simple setups, there are situations where professional installation is essential. Any work involving natural gas lines should always be handled by a licensed plumber. Improperly installed gas lines can lead to dangerous leaks and explosions.
Complex fire bowl setups, especially those with intricate designs or multiple burners, are also best left to the pros. Installations near structures, such as decks or sheds, require careful attention to safety clearances and fire codes. Any work that requires electrical connections, such as for lighting features, should be performed by a qualified electrician.
Finally, if you’re uncomfortable with any part of the installation process, or if you lack the necessary experience or tools, don’t hesitate to call a professional. It’s always better to be safe than sorry, and the peace of mind knowing the job was done correctly is well worth the cost.
2026 Trends: Smart Torches & Fuel Options
Looking ahead to 2026, we’re seeing exciting advancements in patio torch technology. Smart torches, controlled via smartphone apps, are becoming increasingly popular. These torches offer features like automated lighting schedules, remote shut-off, and even flame adjustment. Expect to pay a premium for these features, with prices ranging from $200 to $500+ per torch.
Fuel options are also evolving. While citronella and propane remain the most common choices, there’s growing interest in more eco-friendly alternatives. Bioethanol fuels, derived from plant sources, are gaining traction, though they tend to be more expensive than traditional fuels. Researchers are also exploring new fuel blends that offer longer burn times and reduced emissions.
The integration of smart home technology will likely become more seamless, allowing you to control your torches alongside other outdoor lighting and entertainment systems. The initial investment for these advanced systems may be higher, but the convenience and energy savings could make them worthwhile in the long run.
Torch Maintenance: Keeping the Flame Alive
Regardless of whether you DIY or hire a pro, regular maintenance is key to keeping your torches looking and functioning their best. Clean the torch bowls regularly to remove soot and debris. Store fuel in a cool, dry place, away from direct sunlight and heat sources. Replace wicks as needed – frayed or clogged wicks will reduce flame quality.
Before winter, drain any remaining fuel from the torches and store them in a protected location to prevent damage from freezing temperatures. Periodically inspect fuel lines for leaks or cracks, and tighten any loose connections. A little preventative maintenance will go a long way in extending the life of your torches.
Here’s a quick checklist to keep you on track:
- Clean torch bowls monthly
- Replace wicks as needed
- Store fuel properly
- Inspect fuel lines annually
- Drain fuel before winter
- Store torches in a protected location


No comments yet. Be the first to share your thoughts!